

I’m very pleased with my progress in working with materials and textures for this project.
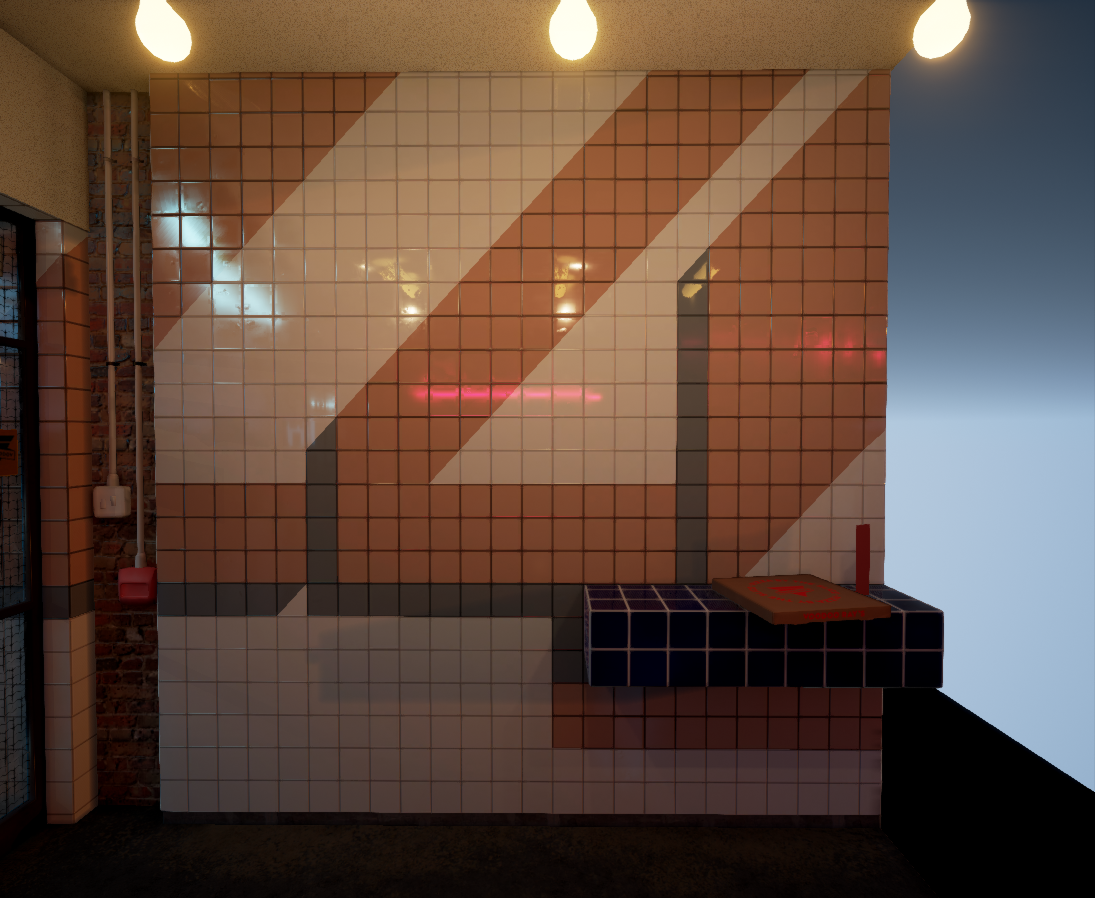
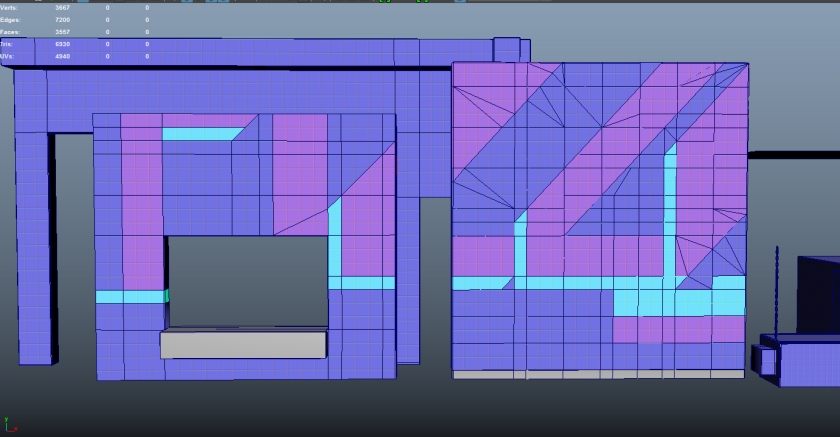
The material that defined much of the style of was the different coloured tiles decorating the scene. The two main aids to my creation of this material was some advice from a past student George O Keefe and some online tutorials by Philip Klevestav. George advised me to create a primary tiled material and then place the coloured instances by assigning various material IDs to pre-cut areas of geometry.
Philip Klevestav’s online tutorial helped to create more dynamic reflections by advising the use of light amounts of overlayed colours on the tiles’ normals. This meant that each tile had a slightly different angle in the tangent space and reflections were broken up along the surface. This method was also use for the brick material seen at the side of the building.


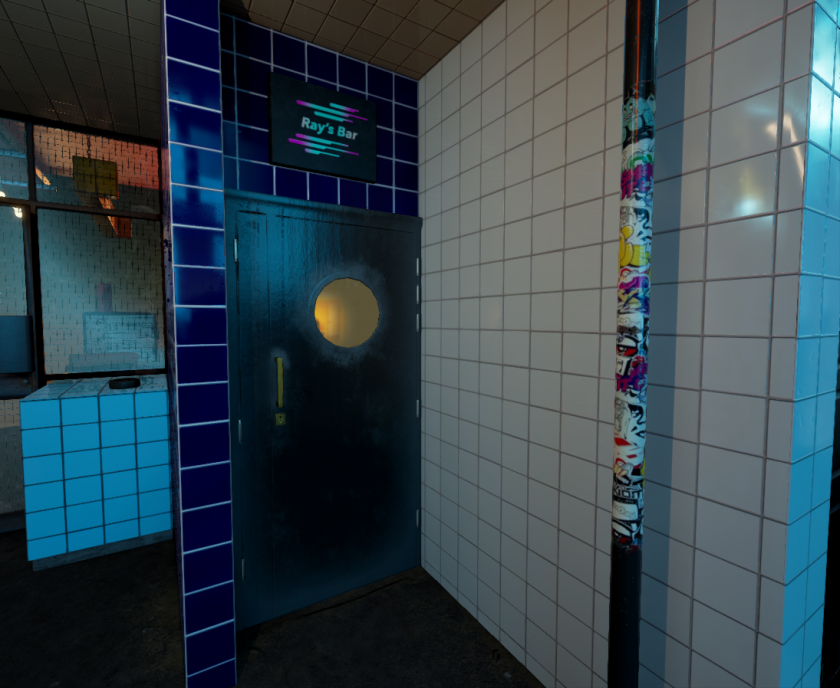
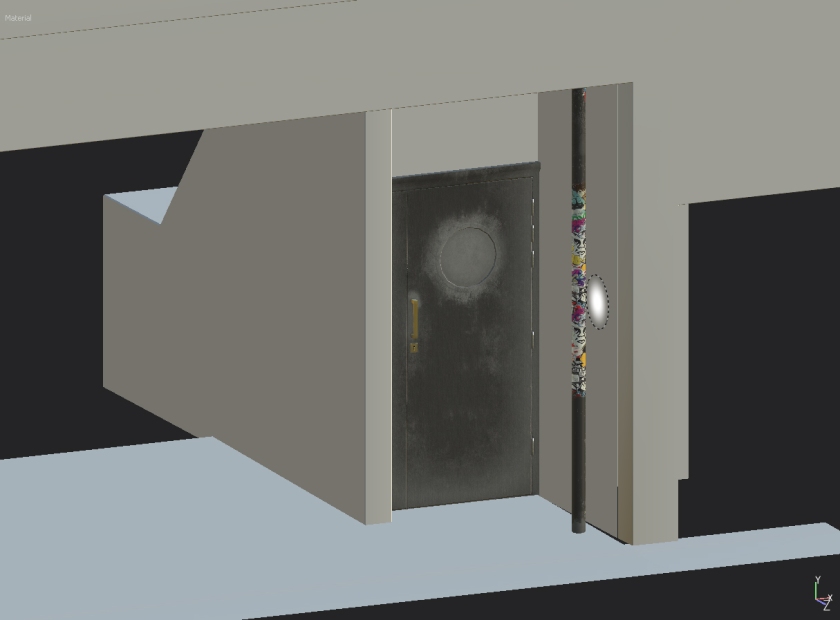
The area I am most pleased for contrast of materials is the Ray’s Bar section as I believe I executed each material quite well and they contrast from each other. There is a parallax based reflection, a graffitied pipe with stickers, a concrete floor and clean tiles. A nice mix of matte/reflective and complex/simple.
In developing my materials some quick points I will be adopting for my workflow in the future is to have any assets that are close to each other in the end scene loaded simultaneously while working in Substance Painter. The MG Dirt and other AO based generators also take into account the presence of nearby objects during the bake and so materials/masks get an extra boost.
 Also labeling the materials after the names of their assigned objects is a massive time saver. Saves a lot of time renaming files after export.
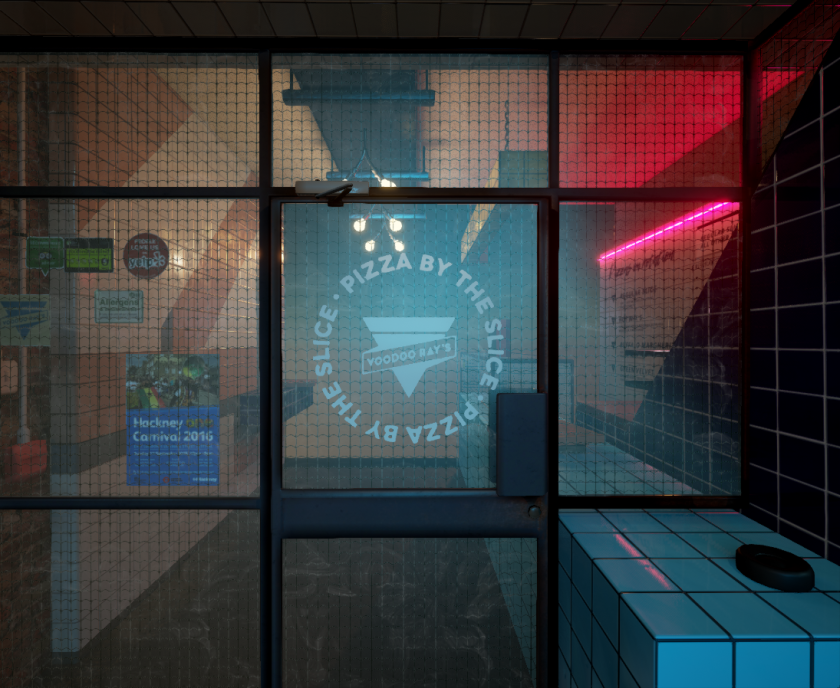
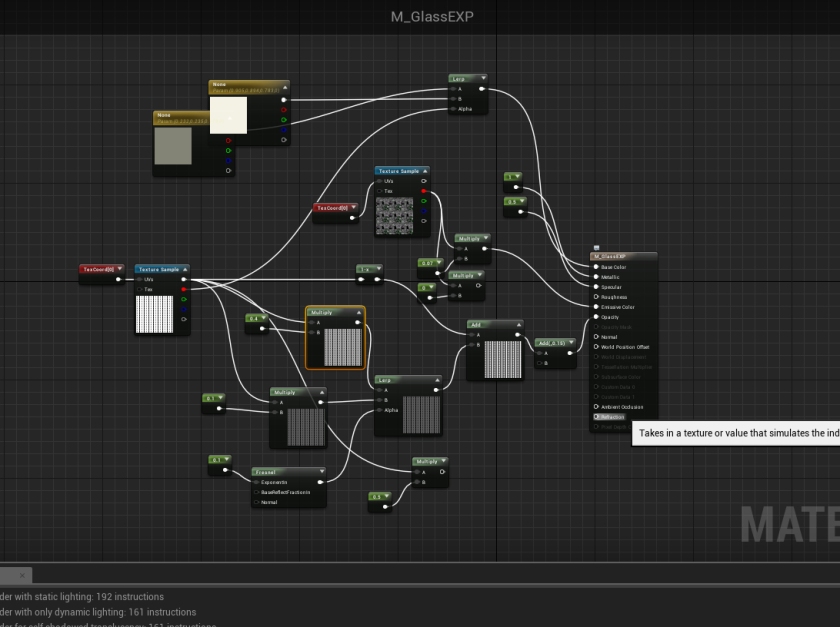
My most complex material in the scene would likely be the glass for the main door. I took the glass material produced by Koola for his example Lightroom scene and then added some additional maps to suit the reference. I also took inspiration from the glass in the King Wash Laundromat which I think added a light amount of emissive combined with a roughness map to maintain a slight rough stain that the light might not be able to catch.


Towards the end of my project I finally managed to get a handle on Substance Painter and it made a massive difference in my overall development. With a handle on the height maps I was able to work far quicker on my concrete floor and various other elements. Previously I had created normals for flat objects such as the road using Zbrush; A finicky and awkward way of working and not too mention havoc on my graphics card. I used a series of stamps produced in Photoshop and to carve out a molded cement like material with cracks and stains very similar to the reference.


To avoid having to create an entire interior scene for the upstairs windows I made use of parallax maps to simulate a sense of depth behind the window using the following tutorial. This also proved useful for the window into Ray’s Bar giving an extra sense of depth and detail.


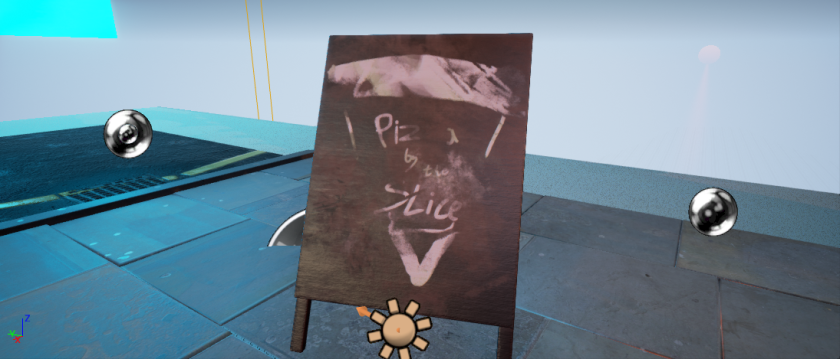
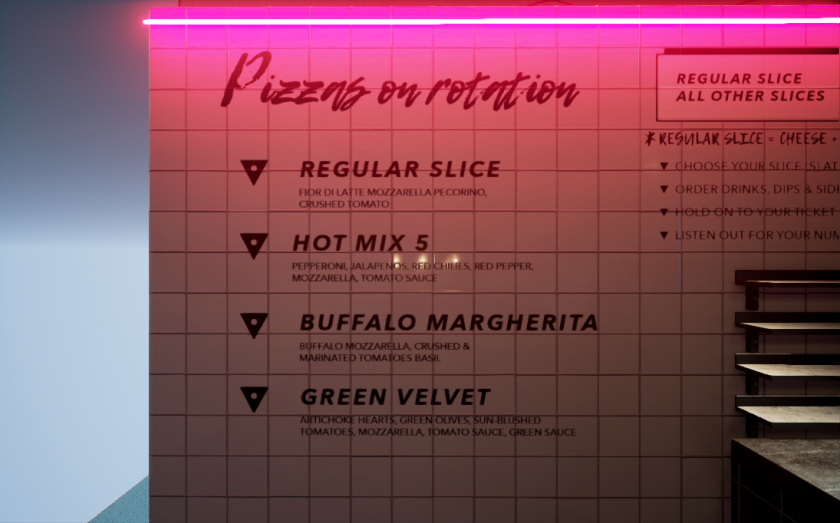
For the text lining the interior walls I made use of Decals. The text was created in Photoshop after sourcing a similar font to the Voodoo Ray’s brand. The stickers on the door frame however are simply masked planes.
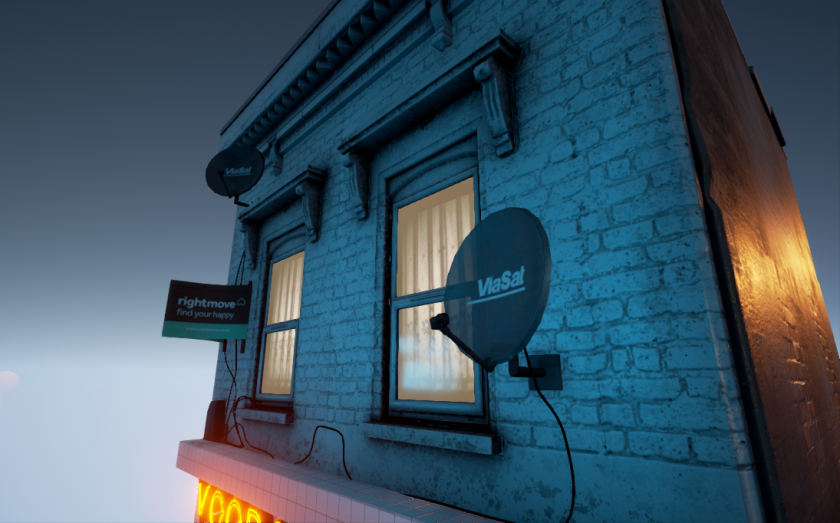
For the satellites I used a simple opacity fade rather than a trying to mimic the minute mesh pattern as anti-aliasing would take over at a distance and the effect would be lost. This effect can be seen in the main doors of the restaraunt as I have embedded a wire pattern in the glass material which distorts and fades out as you move away.
As there was sometimes a slight difference in appearance between materials in Substance and in Unreal a very useful function that I often used was the power sign which offers to contrast and lighten/darken the image. Combined with the roughness this proved incredibly useful for making minor adjustments quickly.