For this project modelling was a major step up as we took on not only new softwares but a far more complex pipeline for production. With the the introduction of Zbrush and Substance Painter it became important to compartmentalise our construction into stages of blockout, geometrical detail and material detail so that we could use the appropriate tool. The line between between these areas is very blurry and does depend to a degree on personal preference. The most valuable learning I have done on this project would be in developing a comfort and affinity with where these lines fall for myself. Initially I leaned heavily on Zbrush because I missed out on some classes on Substance Painter and had a few clunky experiences using its height layers.


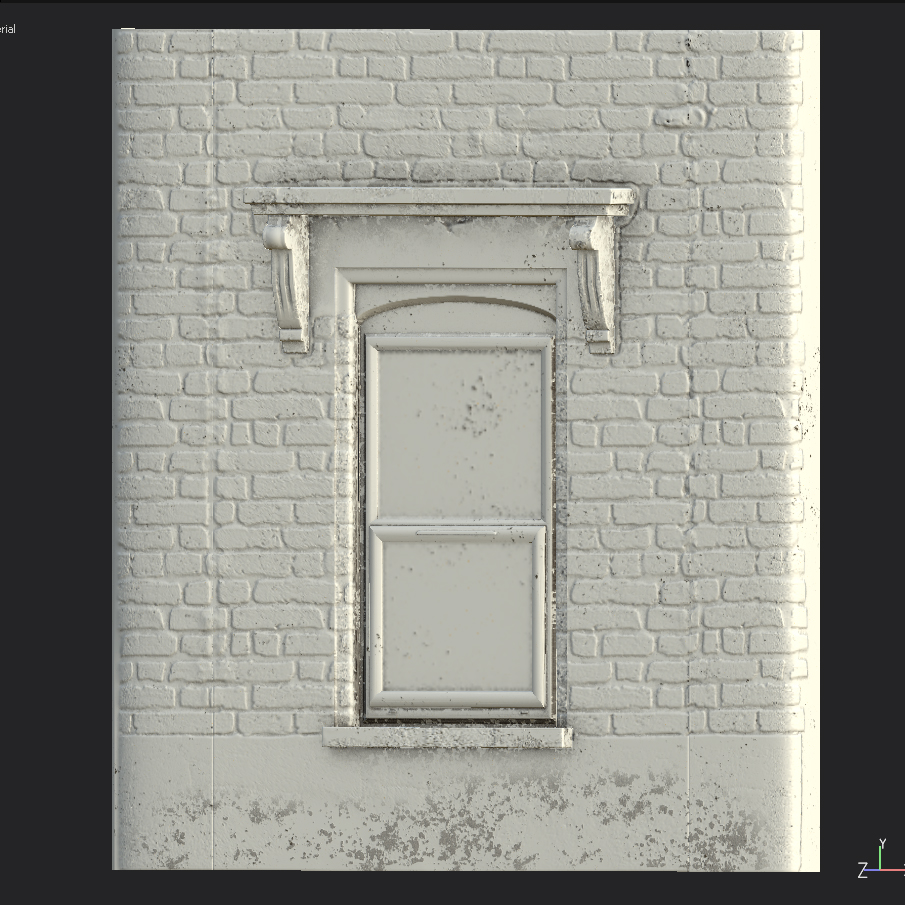
My first areas of development in “Next-Gen” modelling were in Zbrush creating the brickwork of the neighbour’s door and the windows above the restaurant front. It required a lot of back and forth between Zbrush and Maya initially. Getting the right topology to divide well in Zbrush and keep its creases was tricky as there was issues with the Maya ascii export when trying to load multiple meshes with creases. This caused a lot of back and forth trying to resolve the technical error. Once resolved though it was a relatively smooth process of using the inflate tool with a simple brick mask and then adding in detail with other brush such as the clay tubes tool and flatten tool.


Although I found my development with Zbrush relatively smooth there was a drawback when it came to creating seamless textures along the edges between objects. To keep polycounts reasonable within ZBrush I imported the window facade with both corners combined into one section. This meant I could create one material for the left and right sections of the facade and sculpt a brick pattern across the front of the building. The issue however was that there would be a slight break when I line up 2 window sections beside each other. I tried my best to reduce this but just couldn’t get the pixel perfect accuracy I needed. In the end with time considerations and the addition of materials to the object I felt other areas needed my focus.
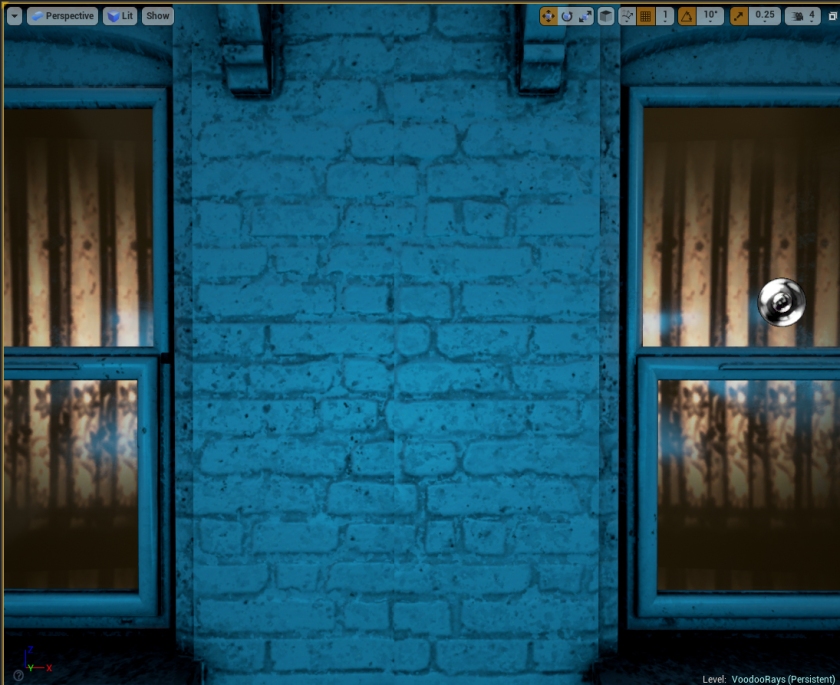
The neighbour door was a good example of learning to make proper use of the Subtool function within Z-Brush as it contained many different components that needed to be updated/re-imported individually throughout the process. It ended up being roughly 9 different pieces with distinct surfaces e.g. the doorbell and the cracked concrete.


